The first experiment of our ACS Chem Club was chosen to be Rock Candy! As the club members wanted to conduct a safe experiment that didn’t require much professionalism for our first experiment, we decided to make Rock Candy!
We were also requested by our chemistry teacher to volunteer at her after school activity called “Mad Science” with the elementary and kindergarten kids, so as our first experiment with the kids, we thought they could enjoy the rock candy after the experiment as a mini treat.
As a leader, I knew that my club members would probably be expecting a lot of from me. So, I tried out a practice experiment a few days prior to our club day(on a Thursday).
Materials/Ingredients needed:
- A medium-sized pot
- A stove
- A scale/measuring cup(but scale is more recommended for better precision)
- A spatula
- White sugar(NOT THE POWDERED SUGAR)
- Water(Pure water is best, try not to use sterilized/tap water for it may affect the taste/chemicals of the candy because of the added mineral salts)
- Chopsticks
- A plate
- Clothespins(I used laundry pins)
- Clear foil
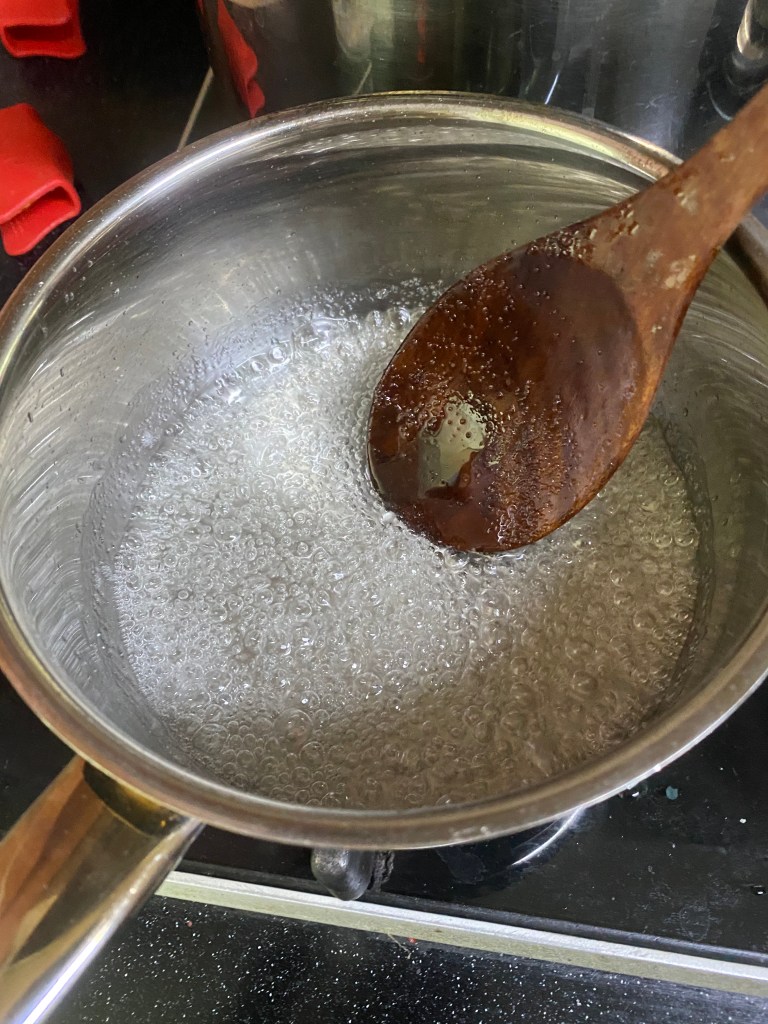
I first tried it out with the brown sugar left at home, with a ratio of sugar to water of 3:1. I boiled the water first in the pot in mid-heat, until the water started bubbling. Then I added in the sugar slowly, cup by cup, and dissolved the sugar with a wooden spoon. But I didn’t know how long I was supposed to boil the sugar, so I left it boil for 10 minutes(while continuously stirring.) I poured the solution right into the glass jars after only cooling it for 3 minutes. While I was making the sugar solution, I wet a few chopsticks in pure water so that the base sugar for the rock candy would have a base to grow from. The sugar coated chopstick is basically where the crystallization of the sugar crystals will happen!
A Quick Science Lesson Behind Rock Candy
A supersaturated solution is what causes the formation of sugar crystals. A supersaturated solution refers to a solution when the concentration of the solute exceeds the maximum amount of solute able to be dissolved at a certain temperature(value equlibrium solubility). In this experiment, the supersaturated solution has more solute(the sugar) dissolved than the available amount.
An easy analogy to saturated solution is watercolor paint. The paint is the solute, and the water is the solvent. The more saturated/concentrated(more paint) the solution is, the higher the ratio of paint:water there is(more vivid colors). Less amount of solute(paint) results in a less saturated solution(more washed out, no color). In a saturated solution, the possibility of a sugar molecule making contact with another molecule is much higher than a non-saturated solution because of the decreased space to move around. As the water has evaporated from boiling the sugar solution, the state of matter of the liquid is closer to a solid (molecules in liquids move much more freely around than solids in which the molecules vibrate). Also, because there is even less water molecules, it seems as if there was an increase in the sugar molecules moving around, which is the reason why the sugar molecules bump into each other more often. As a result, the sugar molecules start to bond together.
Therefore, as the molecules are already “sticky” enough, by providing a “base” for the sugar crystals to grow(the sugar coated chopsticks), the sugar crystal growth will be much more evident and rapid. The longer you leave your sticks inside the solution, the bigger the sugar crystals will get because you are allowing that time for more sugar molecules to bond with each other, and also as the sugar crystals increase in size, their attractive force gets stronger.
As the molecules bond together in a repetitive pattern, this is what makes the sugar bond look like a crystal pattern.
(Reference from https://littlebinsforlittlehands.com/grow-sugar-crystals-rock-candy/)
Okay, back to my attempts!
I stuck the sugar coated chopsticks into the solution, and left it for 3 days. However, this was a MAJOR fail, as the green solution(I mixed it with green food coloring) turned into a slushy like solution.
I tried the same recipe again with the remaining sugar. As I didn’t have much sugar remaining, I decreased the amount of water, but maintained the same sugar:water ratio. This, again, turned into a pink slushy the next day..
I went to a nearby supermarket to buy 2 more packs of white sugar because I was extremely determined to attain that knowledge of how to successfully create rock candy. I also ordered flavoring as my club members had requested for flavorful candy.
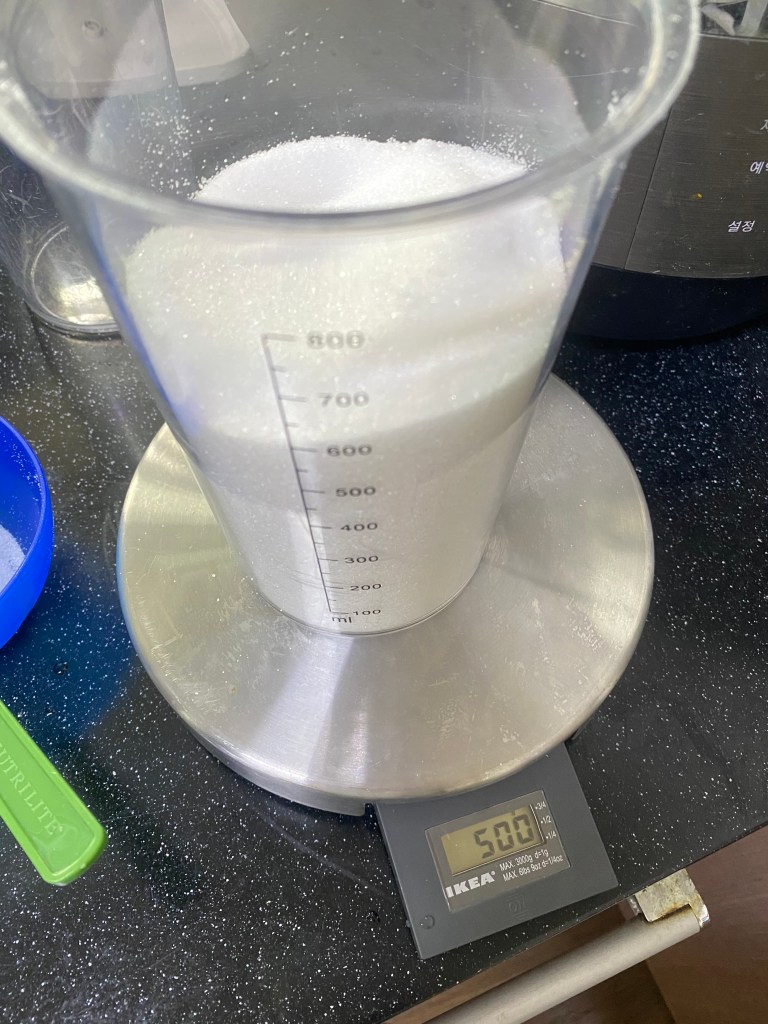
The third time, I prepared the water and sugar to a ratio of 2.5:1(250g:500g).
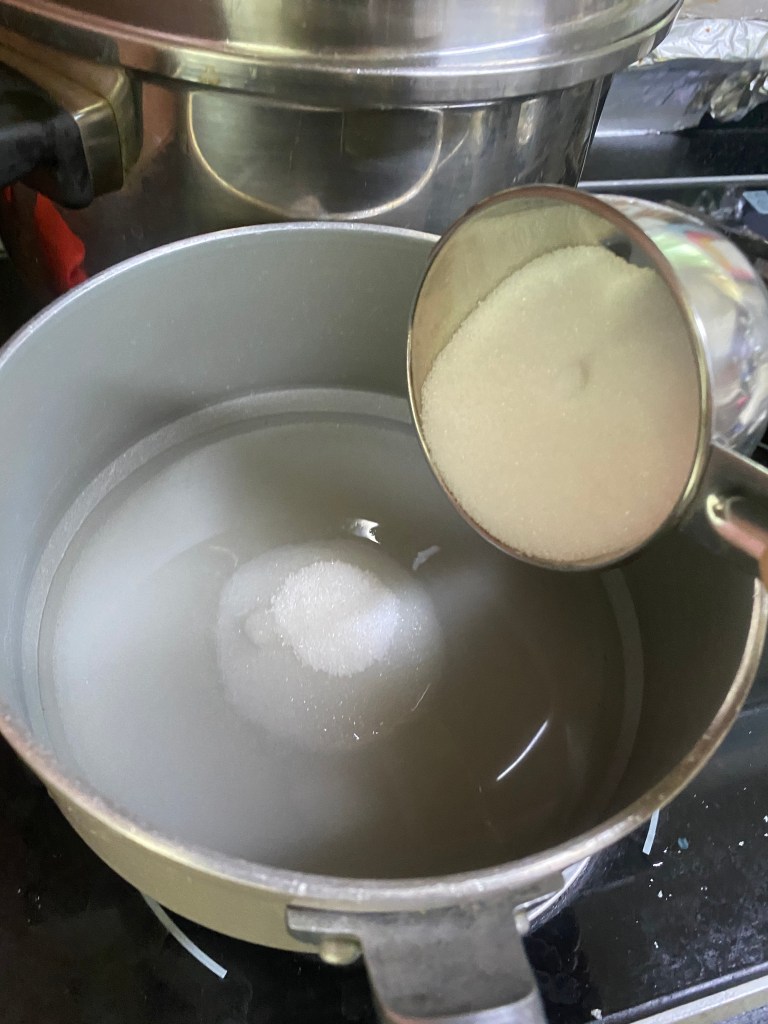
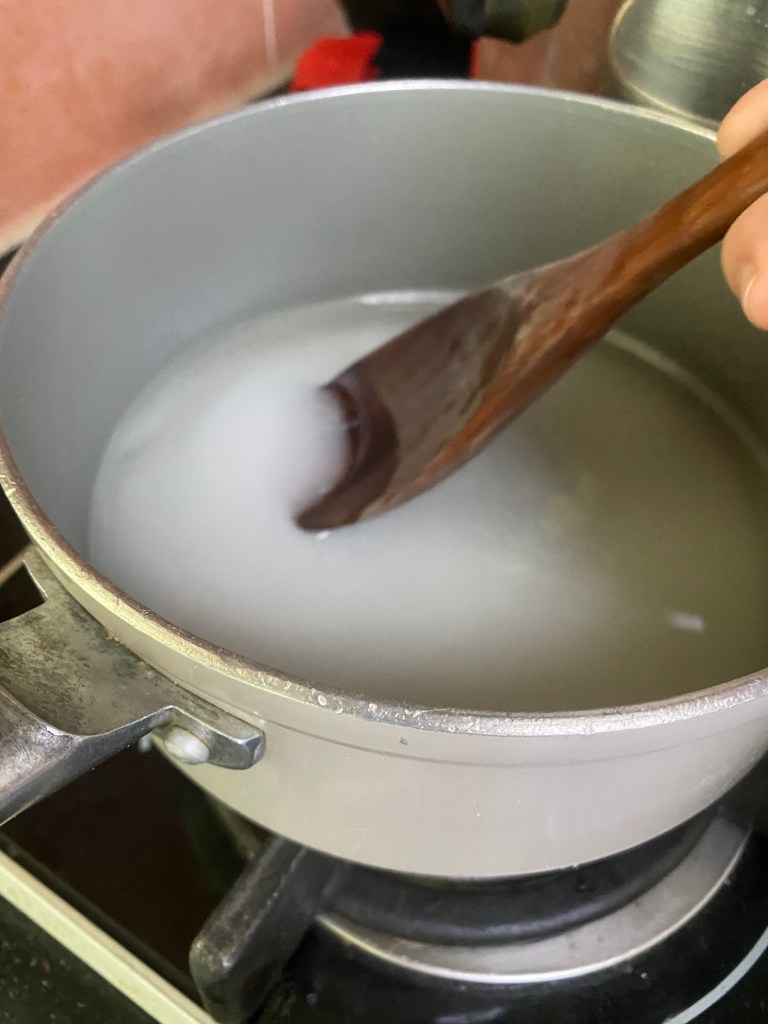
I boiled the water first until the water started boiling, and poured in my sugar little by little.
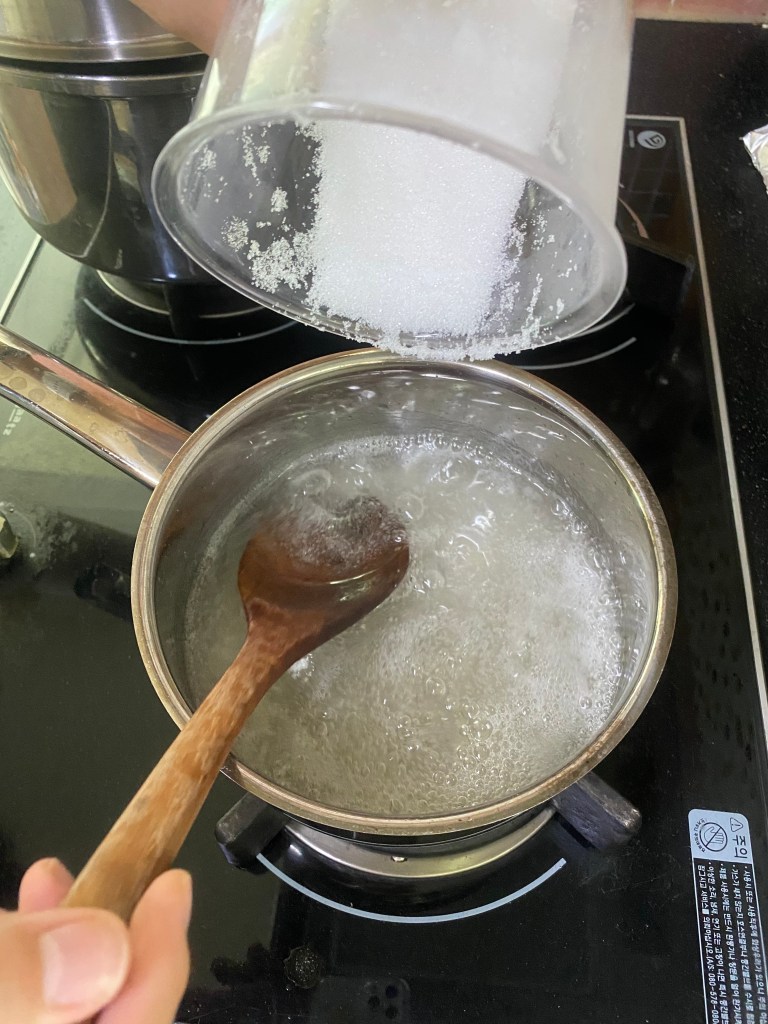
I should’ve been more cautious when pouring the sugar in, because I might’ve tilted the sugar cup a bit too much to the point where I poured a lot of sugar at once. (they were lumpy too)
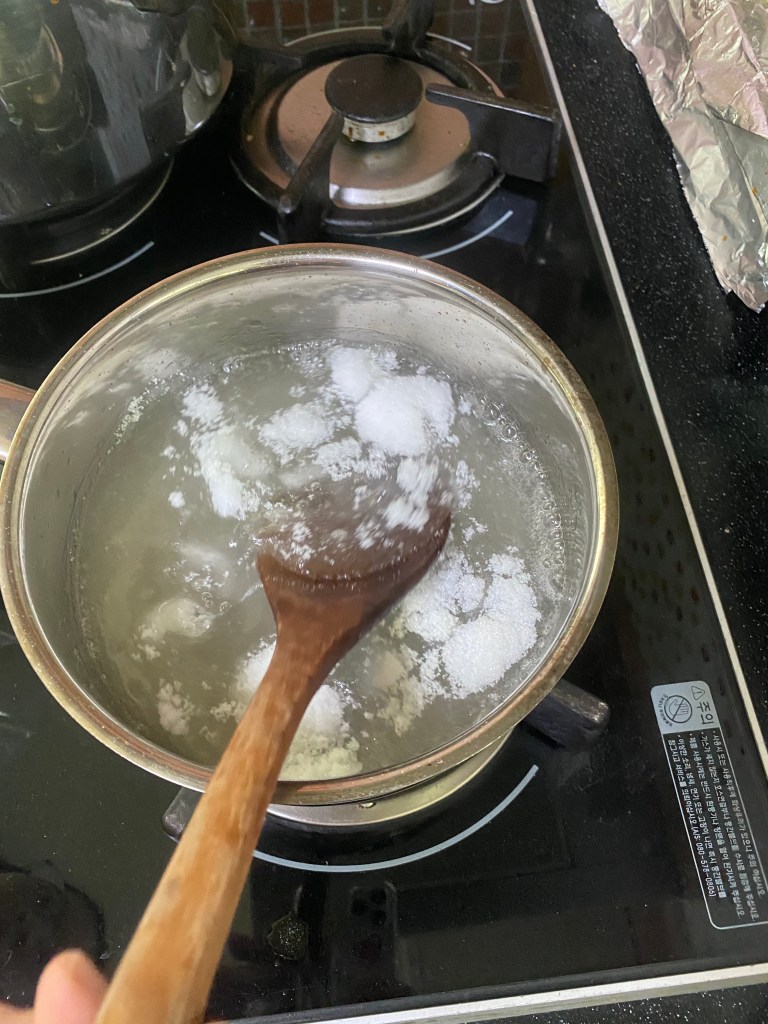
I continued stirring the sugar until it completely dissolved.
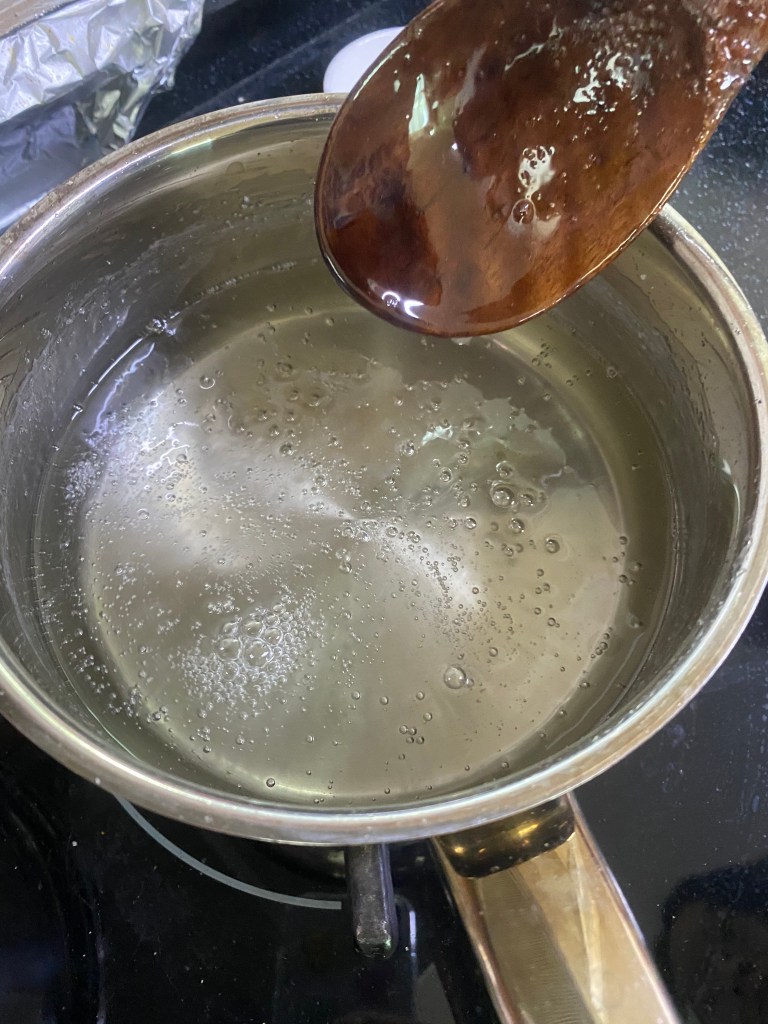
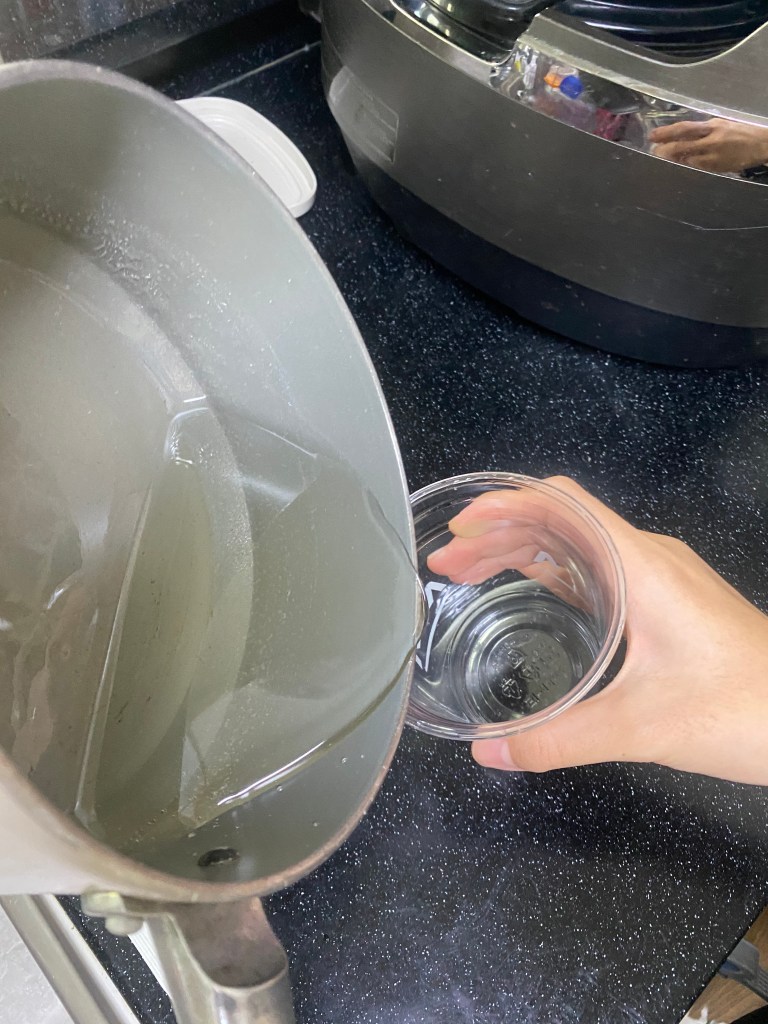
I poured the supersaturated solution into a new pot to let it cool faster.
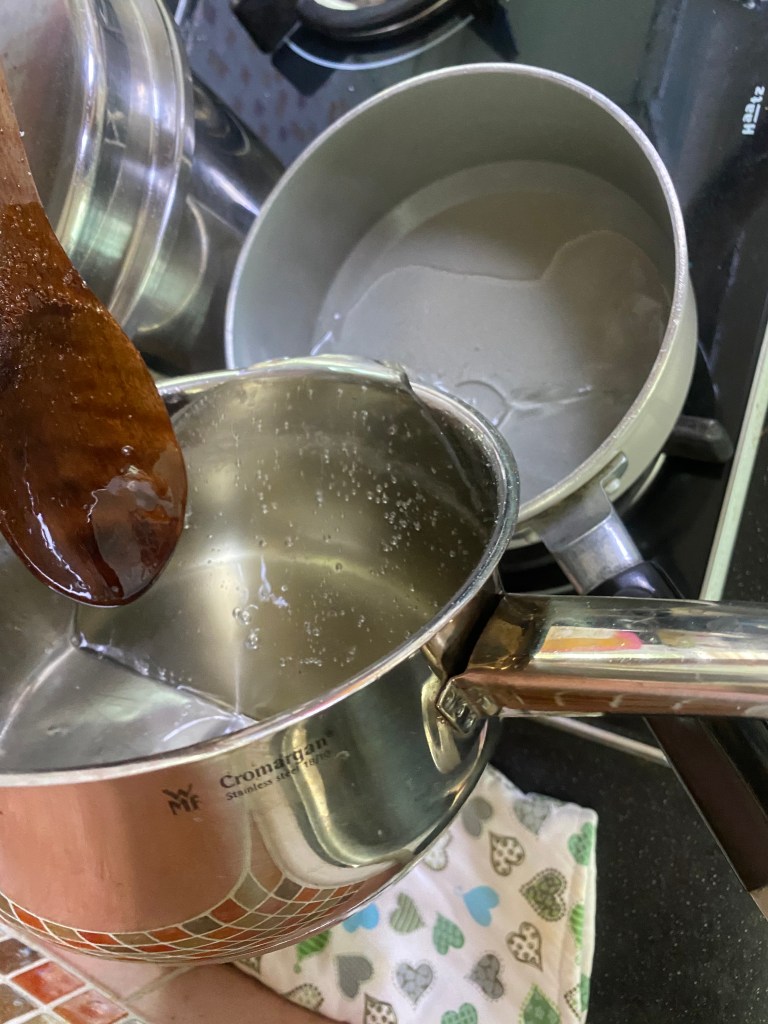
I moved this new pot to a nearby windowsill to let the cool breeze cool down the solution a bit faster.
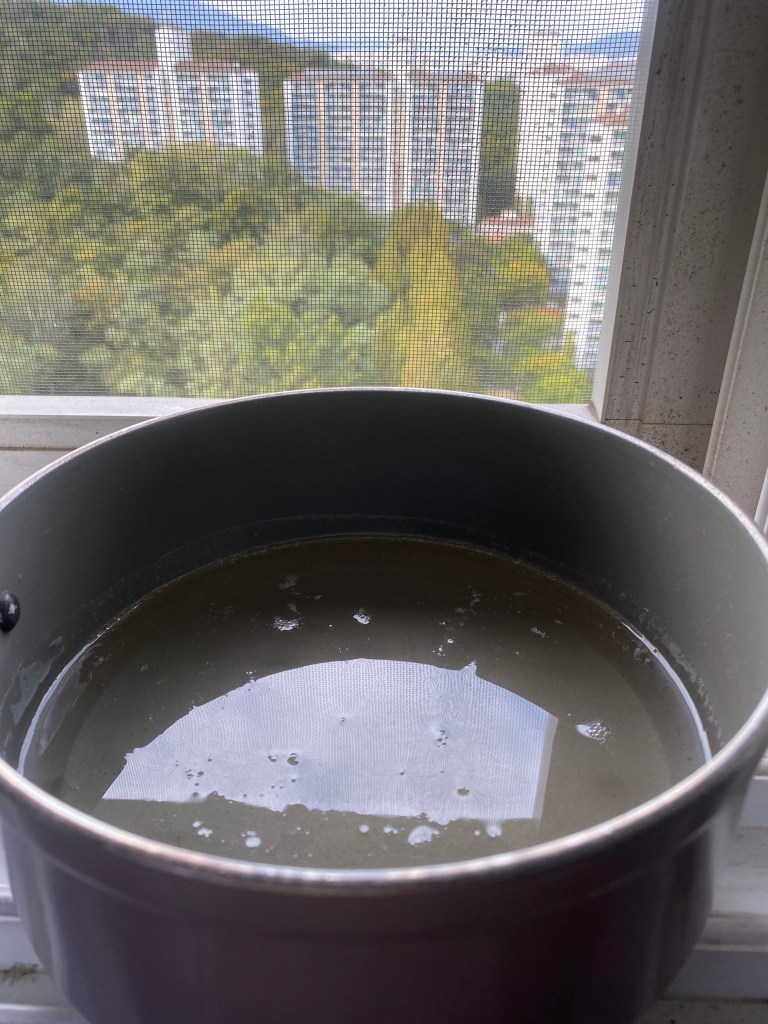
I was extremely excited as I set my alarm to 20 minutes.. I excitedly hopped over to the kitchen once the 20 minutes were over, and I was depressed at the same result that I had encountered the past 2 trials.
Like my curious self, I did some research, and I realized a Eureka moment. I had simply put in too much sugar!
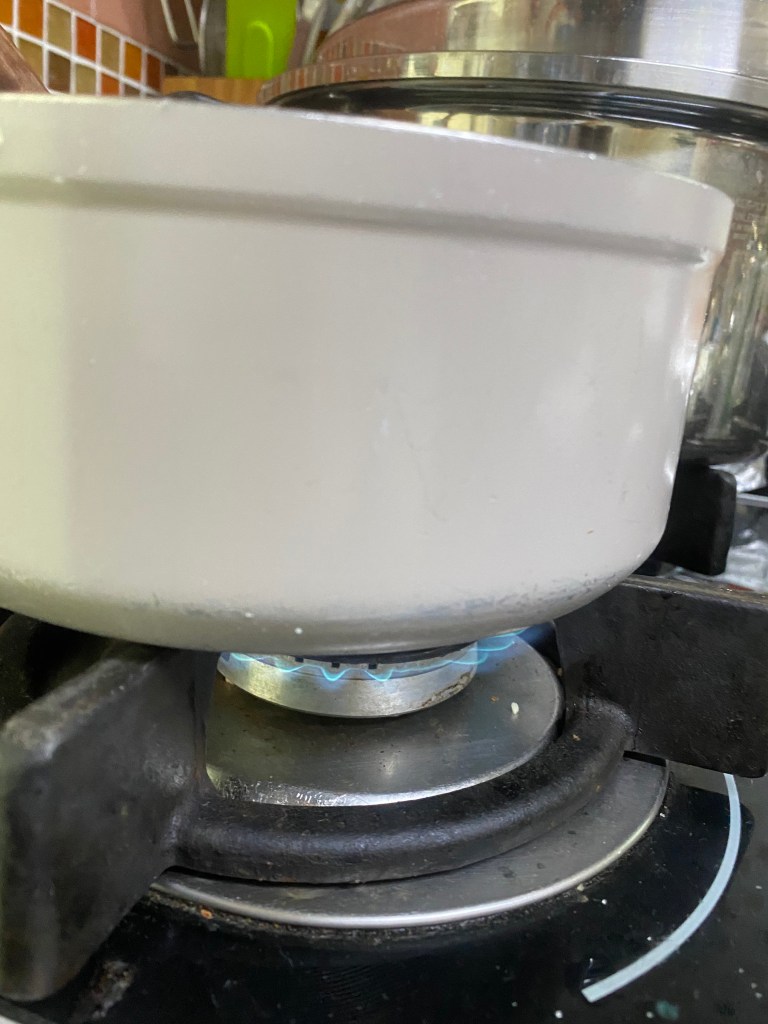
The fourth time, I lowered the ratio of the sugar:water to 2:1, and I did NOT want to waste any more sugar or water, so I prepared 50g water:100g sugar. I repeated my previous process in the third time. Since boiling point is intensive(the amount of substance doesn’t affect the characteristic), despite the decreased amount of water, it still took the same time for the water to boil.
(Please be cautious of the sugar on the spatula and on the sides of the pot too! This was also a very big factor that I was unaware of until my 5th attempt)
Therefore, I am assuming I had less water by the point the water started boiling, which was probably my main factor of this result:
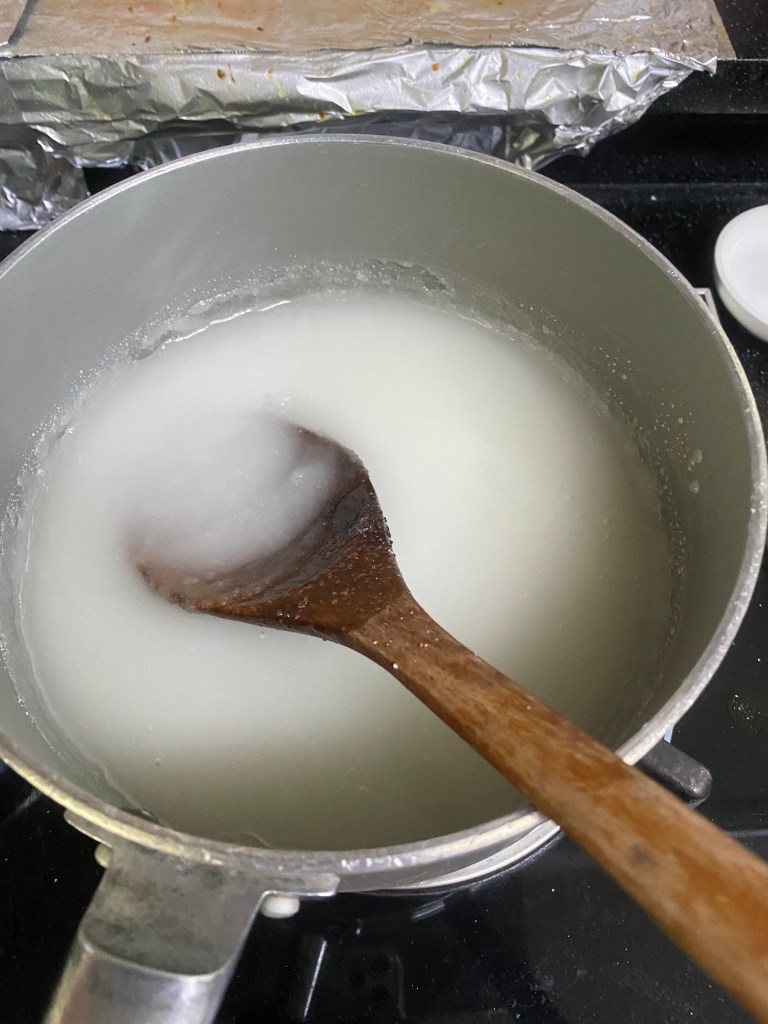
For the fifth time, I decided to alter my methodologies, as I noticed all my previous attempts followed the same methodology. I realized that all these failures resulted in the same pattern – the solution resulted in a slushy-like mush or either turned into a hardened, rock-like lump.
Through much more research and a logger period of thinking, I decided that I would change my methodology to dissolve the sugar in the water first before boiling the water in the pot to prevent extra unnecessary loss of water.
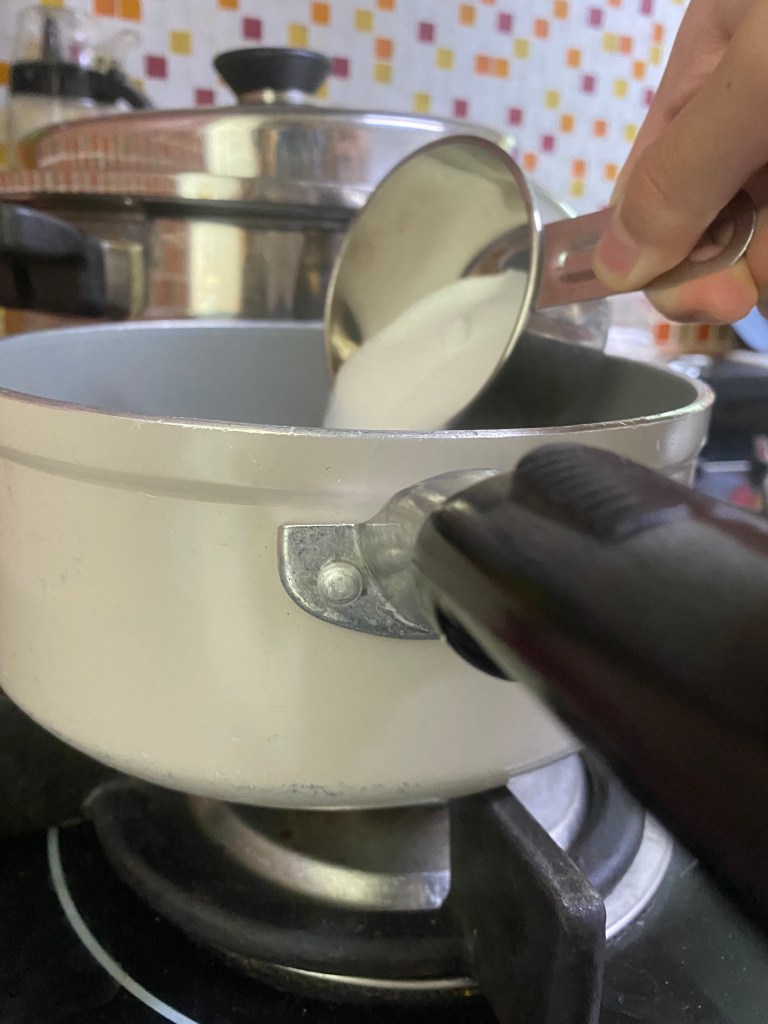
For the sugar to water ratio, I did it by 2.5:1 again. I added 500g of sugar to 250 grams of water.
I used my spatula to stir the solution to dissolve the sugar.
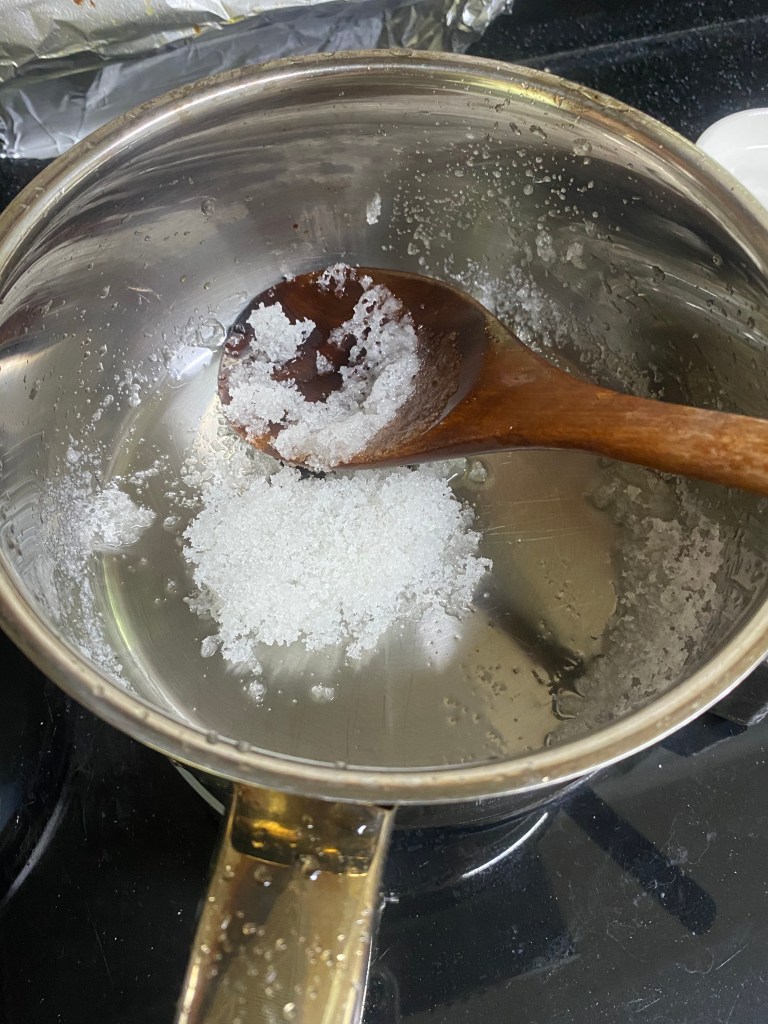
I stirred the solution continuously until the solution was nearly all transparent. As I did not add heat, it was more difficult to completely dissolve all the sugar, and therefore, there were still some undissolved sugar particles in the solution, but the solution was mostly transparent.
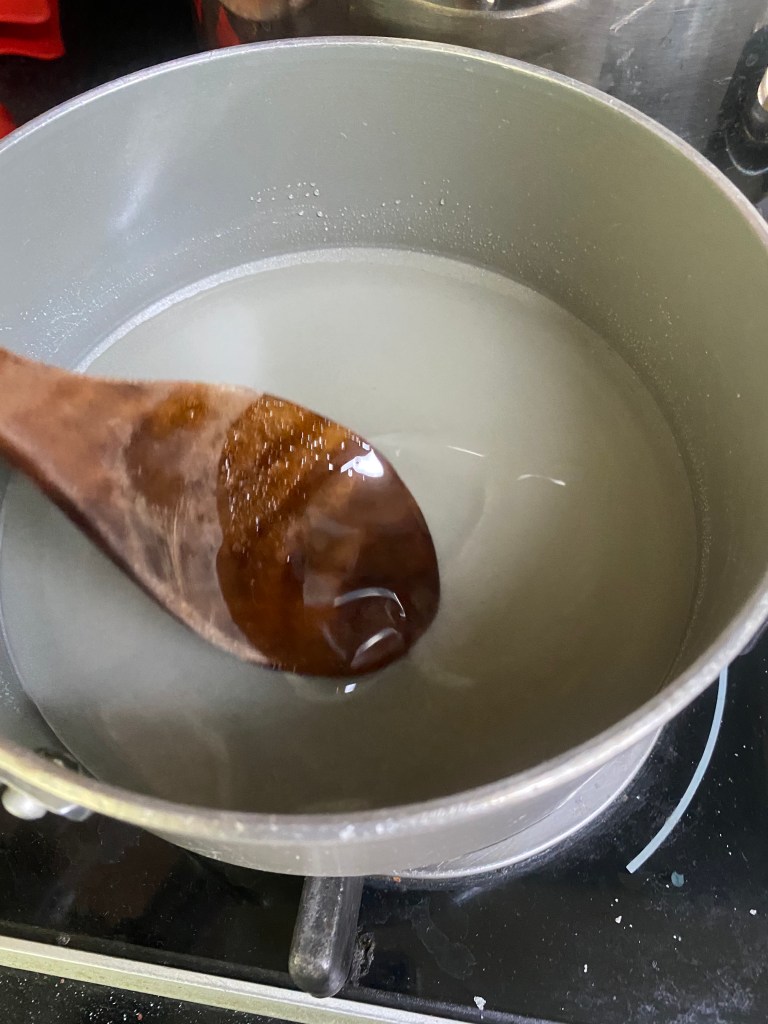
I reminded myself to keep stirring slowly for I DID NOT want to fail this trial.
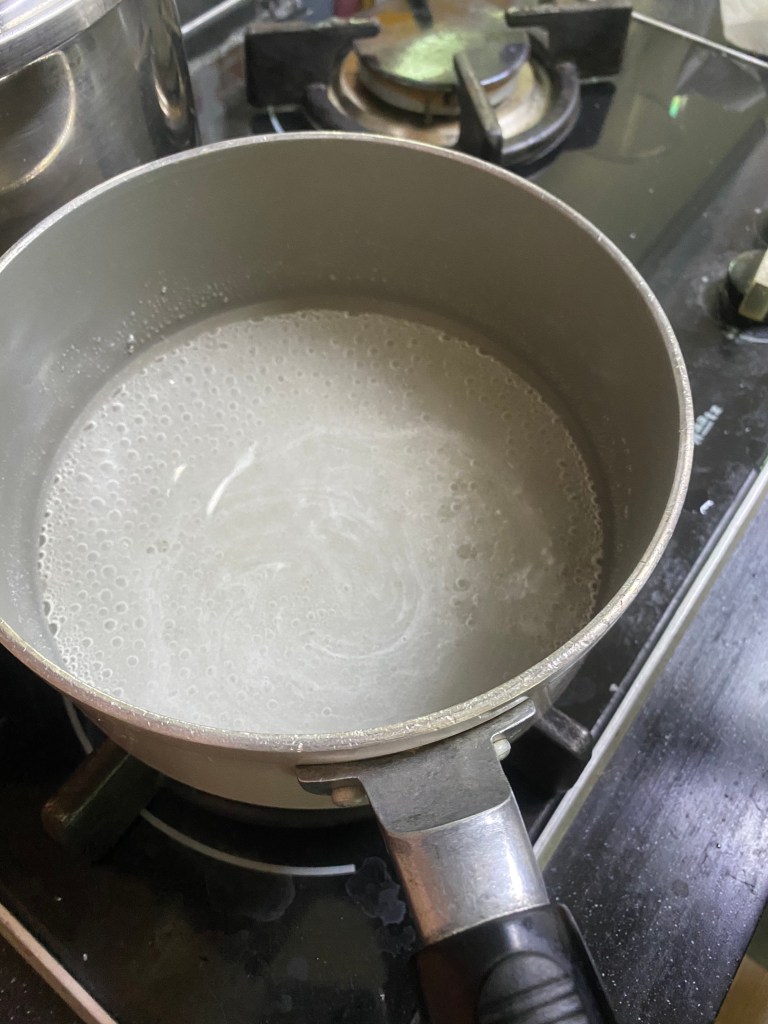
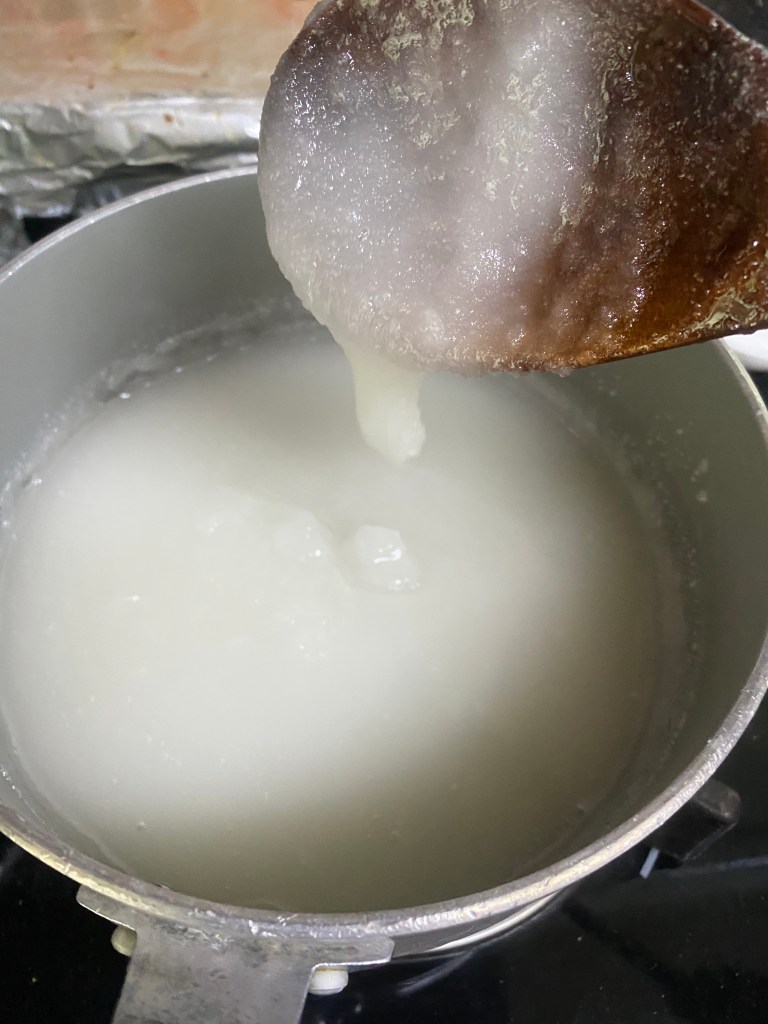
I changed the fire to mid-heat because there were still the TINEST particles of sugar left, making the sugar solution slightly white, as if there was a white veil covering the water.
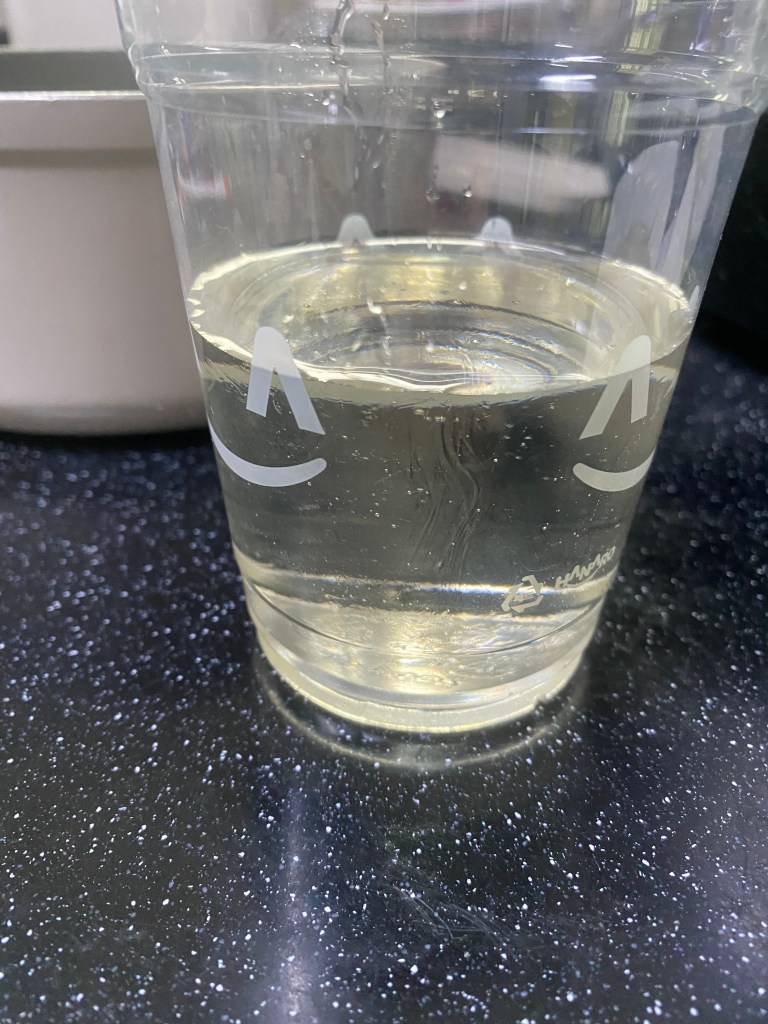
Interestingly, this time, when I cooled the solution, the solution didn’t harden into a white slush. I think this confirmed the fact that the solution was finally a success!!
I added red food coloring and raspberry flavoring, then placed the sugar coated sticks in the cup(I also secured the sticks with clothespins). I waited for about 2 weeks for the solution to grow since the longer you leave the sticks to grow

One response to “Rock Candy Experiment!”
[…] club meeting, we conducted a rock candy experiment. Although this did bring back bad memories of last year (we failed last year), we decided to conduct another rock candy experiment because according to the […]
LikeLike